Alright, the title might be a bit misleading one. By following this guide your Xiaomi Redmi 1S won't exactly be running Android 5.0 Lollipop but it will be as close to that as it is possible at the moment. The Redmi 1s still hasn't received its KitKat update, so you'll have to wait quite a while before the promised (by Hugo Barra) Lollipop update finally arrives. When the update does come, it will be in the form of a MiUi update, which can be expected to be a whole lot different than anything you've seen labelled as Android Lollipop till now. So, if you have liked what you have seen, this guide is here to help you out.
Thanks to Xiaomi's leniency to allow its users to root their Xiaomi devices without losing their warranty, this guide can be followed without fearing about losing your warranty.
How to get Android Lollipop look on your Redmi 1S
- To get started, you will need to switch to a different rom than the one that came pre-installed on your device i.e. MiUi. The custom rom we are loving at the moment, for the Redmi 1S, is the Paranoid ROM.
In order to be able to flash a custom rom on your device, you need to flash a custom recovery (like Clockworkmod or TWRP recovery). Once you've done so:
- Download the latest version of the Paranoid ROM from here (the latest, at the time of writing, is Beta 6 20141104.zip). Transfer this file to the root of your internal storage. Root of the internal storage means copying it to the internal storage outside any folders.
- Boot your phone into recovery mode. To do so, power off your phone. Then press and hold Volume Up + Power keys simultaneously till your Redmi 1s boots into the recovery mode.
- Depending on the custom recovery you chose to flash, wipe cache and Davlik cache partitions. Then flash the Paranoid Android rom you downloaded in step 1.1
- Once the rom is flashed, reboot your Redmi 1S to boot into the new ROM.
- Go to Settings > Themes > Theme Packs and click the Get more text on the top right corner and select Play Store. You'll be redirected to the Play Store app, Inside Play Store, find the theme named Lolipop CM11/Paranoid/Mahdi and install it (yep, the name's a typo of Lollipop).
Note: Before you can open Play Store, you'll need to flash a Gapps package and add your Google Account by going to Settings > Add account.
- Activate the Lollipop based theme by going to Settings > Themes > Theme Packs. Tap the Android L option and place a check mark against all the available options (like Styles, wallpapers, ringtones etc.) and press Apply. Reboot your phone after the theme has been applied.
- Go to Settings > Display and activate the Dynamic Status Bar option. This will make your status bar dynamic i.e. it will change colors based on the content. This kind of behaviour is evident in Lolllipop, but honestly speaking, I like the Paranoid Android's version even more. To make your phone look even more like a vanilla Android device, disable your hardware capacitive buttons (Xposed Installer + Xposed Additions module should do the trick) and enable On-screen Navigation buttons (Xposed Installer + Gravitybox module). The on-screen nav bar will automatically have the Lollipop look because of the Lollipop theme we installed in the previous step.
- Install a few Lollipop apps - Launcher, keyboard and the likes - from here and here.
- Find and install any launcher that looks like Android Lollipop's default launcher from the Play Store.
- That's it. you now have the latest version of Paranoid ROM, which comes with Android L like card stack view for recent apps. Your color scheme, font, wallpaper and style has changed to look like Lollipop. This, along with the Material Design based Play Store, Gmail, Play Music and some other non-Google apps should make you feel like you are actually on the latest Android version.
- All we did in the steps above were over the hood changes to make the rom look like Lollipop. Under the hood, Lollipop enables Device encryption by default and uses ART instead of Dalvik runtime. You can enable both these option from Settings > Developer Options and Android > Security.
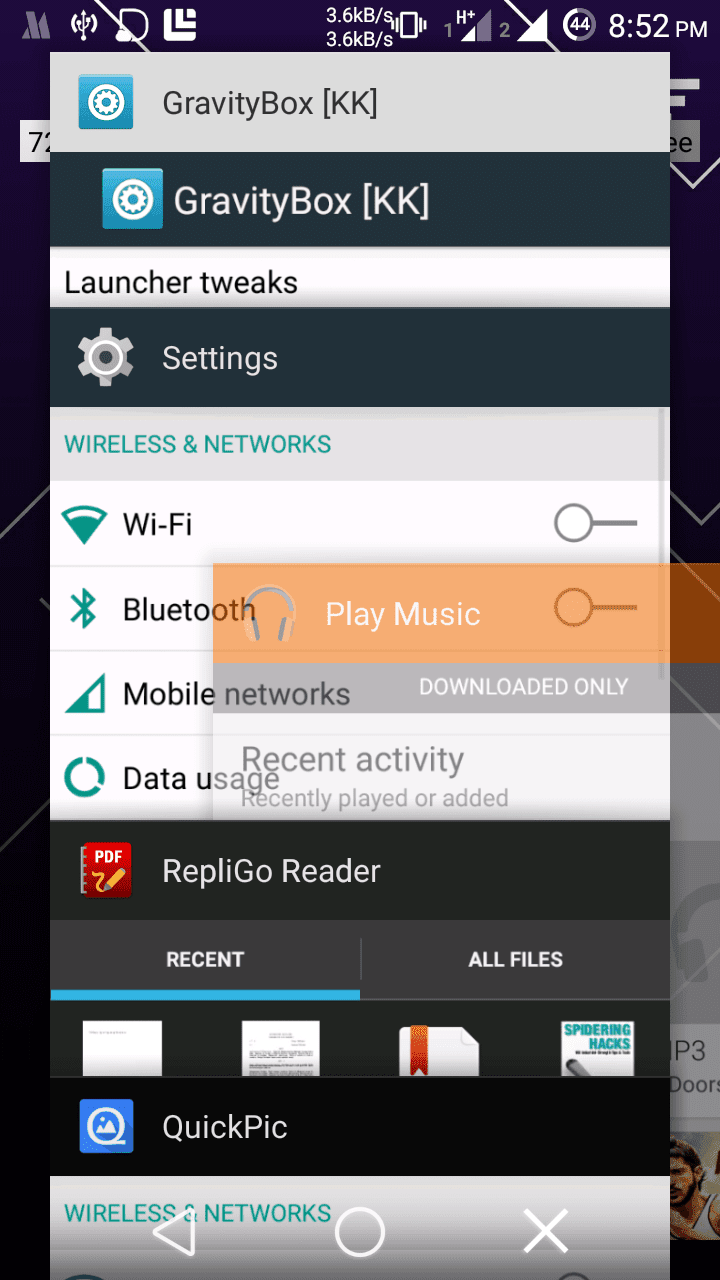
Screenshots:
 |
| Recent apps in card stacks view |
 |
| Removing an app from card stacks view |
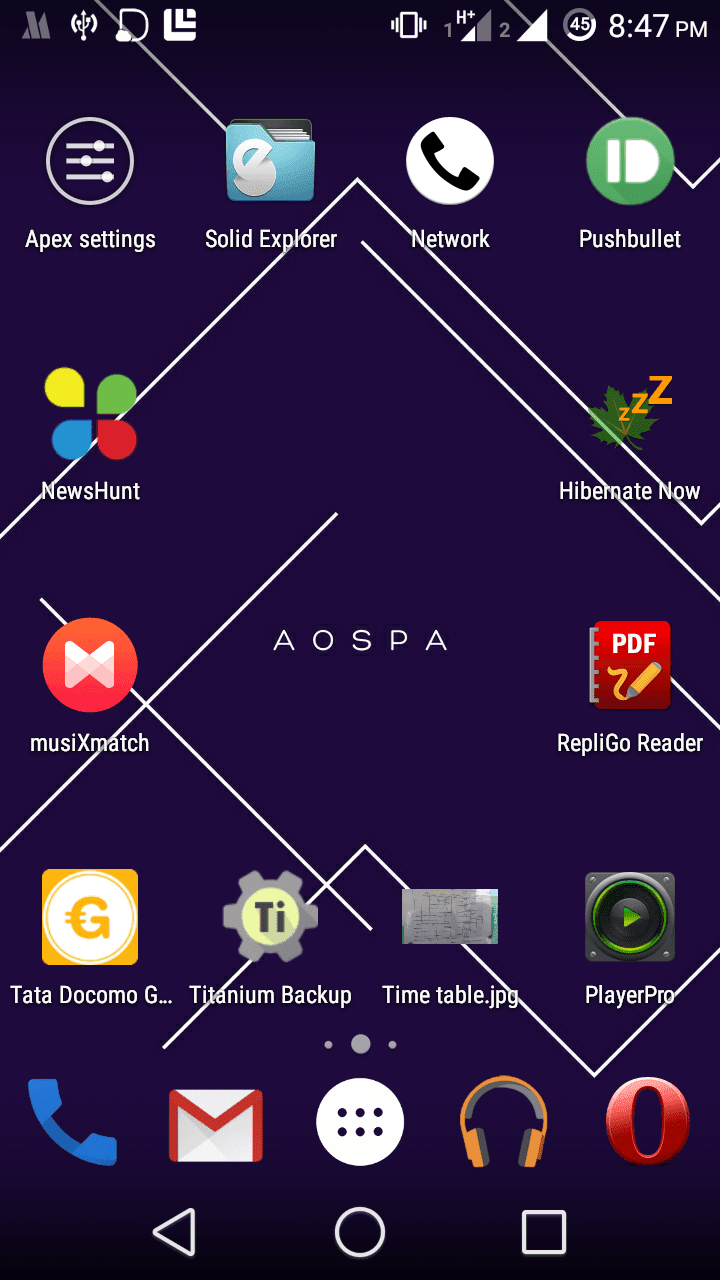 |
| Home screen with Apex launcher (using Lollipop drawer icon) |
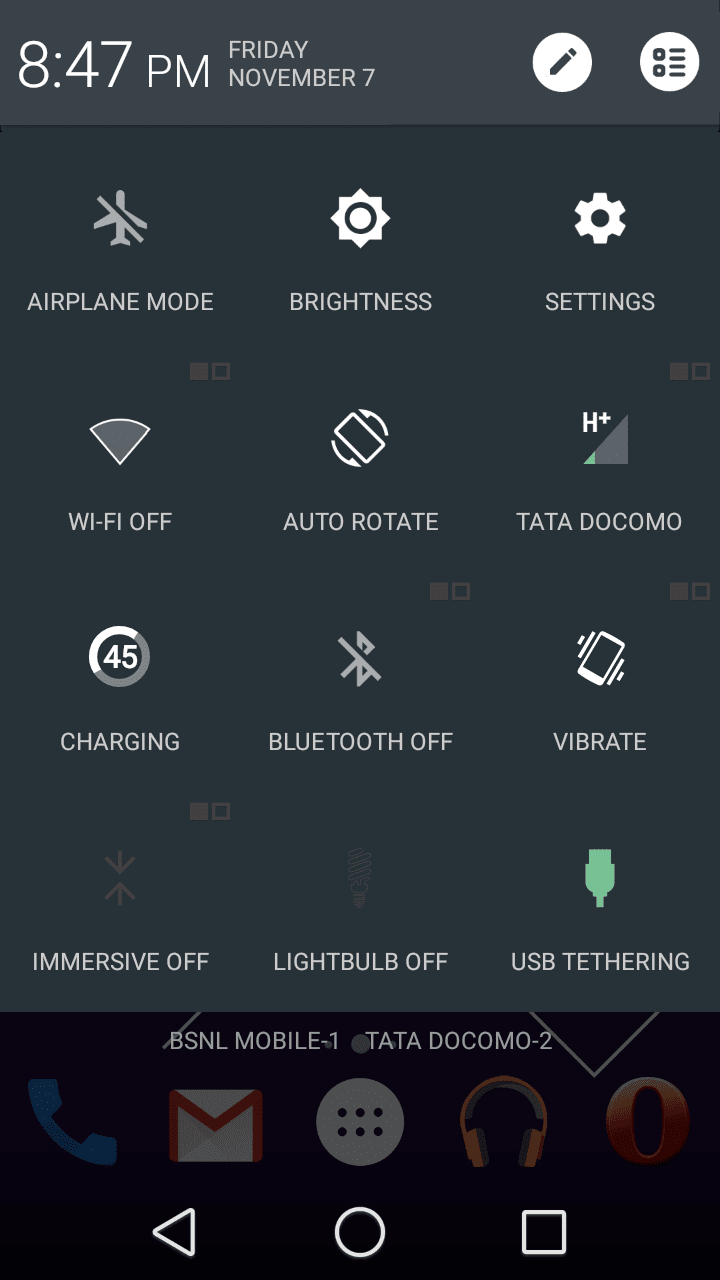 |
| Android L styled Quick Settings |
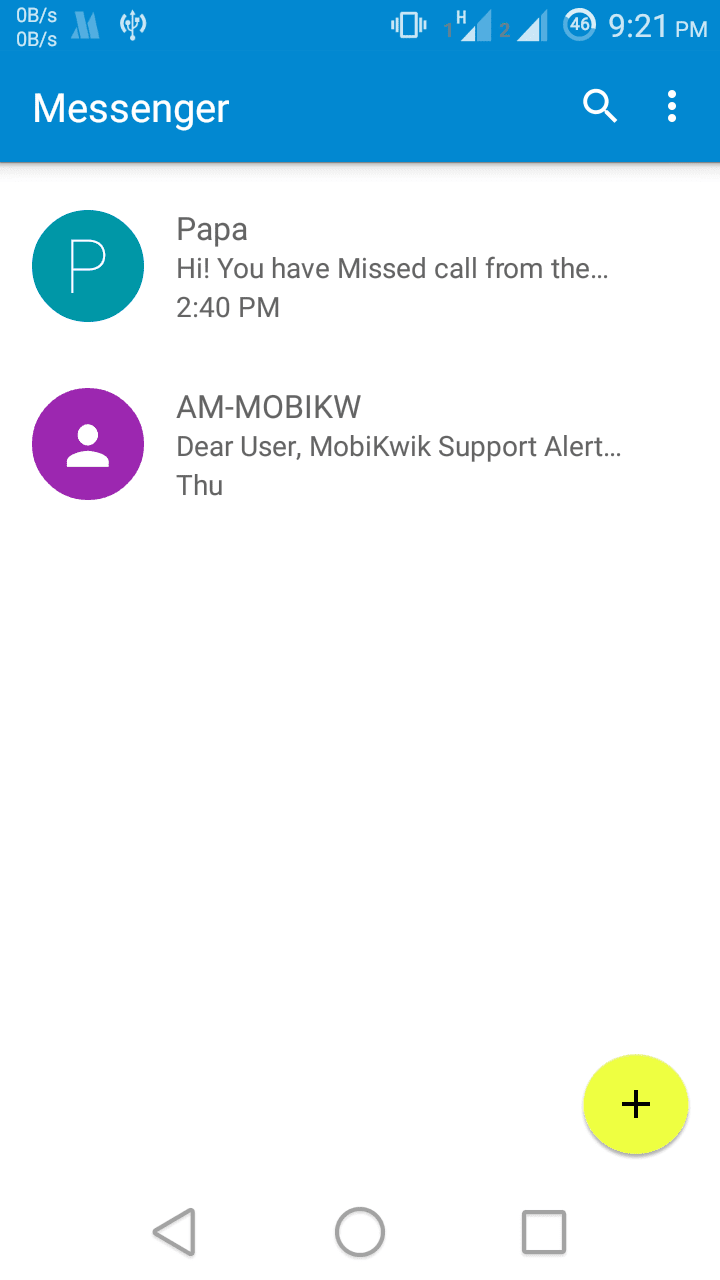 |
| Messenger app from Lollipop |
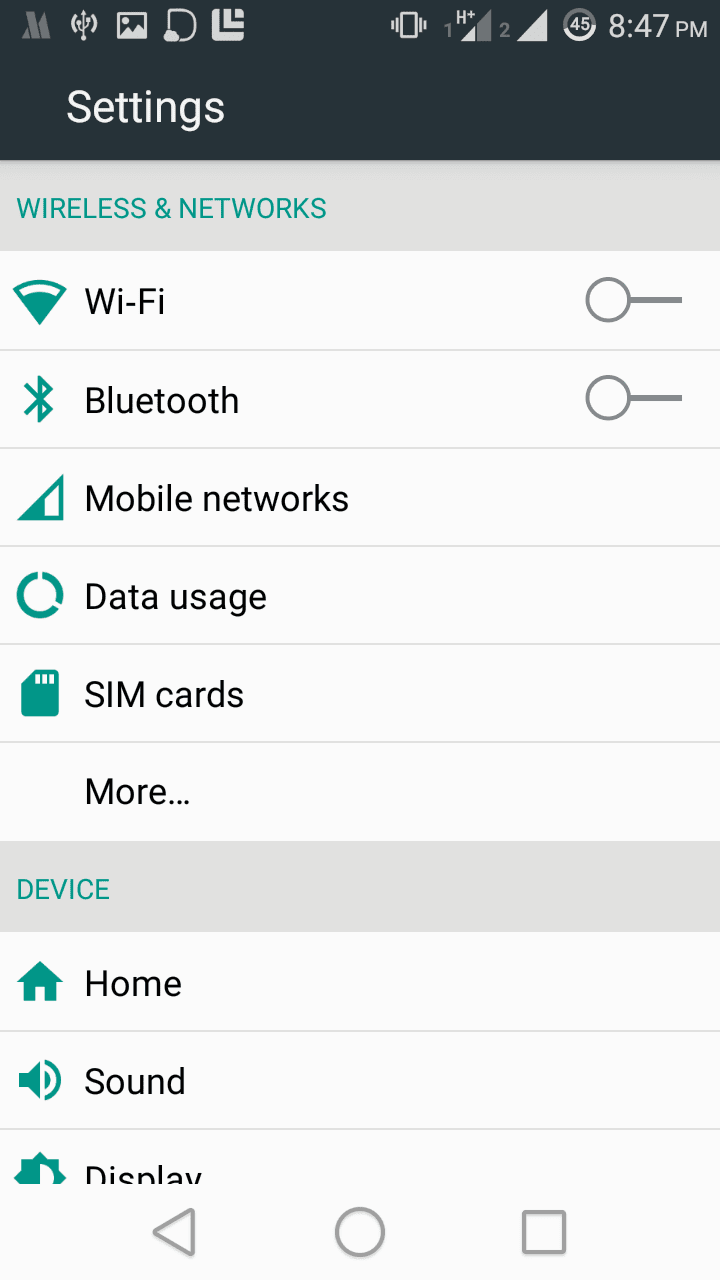 |
| Lollipop themed Settings |
Everything except the Card Stacks view should be perfectly polished. The card stacks view sometimes interprets swiping up/down as a long press. Apart from that, and the fact that the clear all buttons (if enabled) doesn't do anything, it works perfectly too. We can hope that these issues with the Card Stacks view will be solved by DarkNightmare in the future updates of Paranoid ROM.
Apart from the card stacks view in Paranoid ROM, all the other things can be replicated in all other custom roms - like CM11, Pacman, Mokee etc.


