Google is known to be having a good sense of humor. And it loves hiding things in plain sight. Since Gingerbread, Google has kept an artwork or animation as an easter egg in all its Android versions. This easter egg has become more popular since it started featuring animations and clickable items, like flinging beans across the screen, since Ice Cream Sandwich.
These easter eggs are found in almost all Android iterations, including those that ship with other company's UI layer. Accessing this easter egg is pretty simple, though I wonder how someone reached there initially. To get to your Android phone's easter egg, just go to Settings, scroll down and select the About Phone option. In there, tap on the Android version field a few times. In some versions (ICS and below), this is the only screen but in subsequent versions, tapping further leads you to a screen where you can fling jelly beans (in Jelly Bean i.e. Android v4.1-4.3) or cause tiles to re-arrange (in KitKat i.e. Android v4.4).
This screen is sometimes used (by your nerdy friends, in most cases) to confirm the Android version that your About phone screen shows. If you are rooted, you can edit the build.prop file to set your Android version as anything you want. In combination with that, using this guide will let you help fool your less geeky friends with the Android version of your device. Or just use this as a means to having the latest one running on your device.
Get Android L or KitKat or Jelly Bean Easter Egg on Any Android device with Eggster
- To start off, your Android device must be rooted. If you haven't rooted your phone yet, this shouldn't be the only reason to do it. Go ahead and read the pros and cons of rooting before deciding whether rooting your device is worth it.
- If you have a rooted device (or just rooted it now), you can proceed further. The first step from here, will be to install Xposed Installer on your rooted Android device. This step should only take a minute, and a reboot of your device. If you already have Xposed Installer installed on your device, skip this step.
- Open Xposed Installer from your app drawer. Go to the Downloads section and search for the Xposed module named Eggster. Tap on it, swipe to the Versions tab and hit the Download button. Once the download completes, you will be automatically prompted to install the Eggster app. Don't open this app just yet.
- Instead, go to Xposed Installer again, and select the Modules option this time. Tap the checkbox next to Eggster to activate it. Reboot the phone for changes to take effect.
- Open the Eggster app. You will see all the Android versions from Gingerbread up to Android L listed there. Activate the Easter egg you want to set on your phone. Now, go to Settings > About Phone > Android Version and tap it a few times. You should see the new easter egg running on your device.
- Bonus Tip: Press the gear icon in Eggster to get to the options where you can change the behaviour of each Easter egg.
Trying out different Easter eggs should be a cakewalk now, as it doesn't even require a reboot for the changed Easter egg to appear. If somehow this isn't working on your device, make sure that both Xposed Installer and Eggster are installed on your internal storage.
Screenshots:
 |
| Forging the Easter Egg as Kaju Katli :P |
|
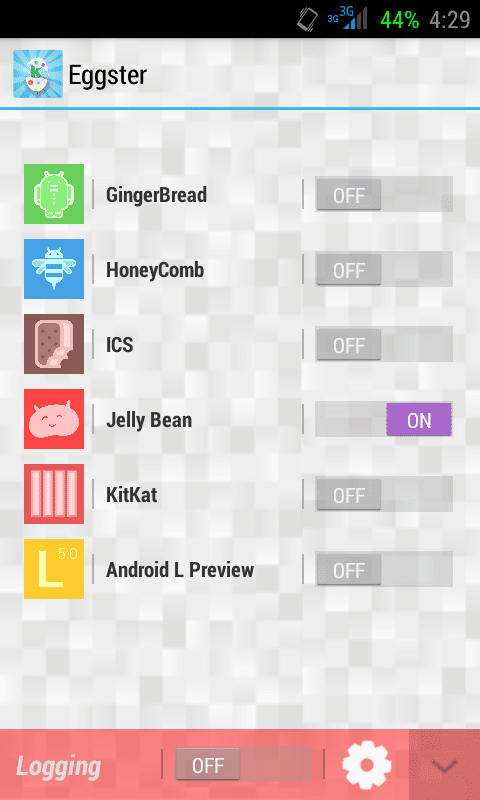 |
| Eggster UI |
|
 |
| KitKat Tiles as Easter Egg |
|
 |
| Android L Easter egg |
|
The easter egg in Android L is rather nerdy and is a reference to the
Webdriver Torso mystery though this doesn't look as good as the ones we've seen in JB and KK. But we have to keep in mind that Android L is in developer preview and the final version will probably include a different and more appealing easter egg.


